As I shared last week, I have made the decision to learn Headless WordPress. So far, it’s been very exciting to dig into something I’ve only been vaguely familiar with – and this week was no exception.
Explore all #SamGoesHeadless Chapters
- Chapter 00: getting started
- Chapter 01: all about WPGraphQL
- Chapter 02: connecting Next.js + WPGraphQL
Before I get into it all the way, I wanted to link to my GitHub repo for all things related to #SamGoesHeadless! If you’d like to star it and check out the code updates along the way I highly recommend it.
I am “Learning in Public” which means all my new knowledge is also yours.
The next part of my journey into headless was all about GraphQL and WPGraphQL.
Not going to lie, I was super intimidated by this. I am familiar with the REST API in WordPress (also, generally making GET, POST, etc requests in something like Postman to receive data from a data source).
It turns out that GraphQL is not nearly as scary as I thought it would be – and WPGraphQL makes interfacing with the database through the GraphQL query language incredibly simple.
My coworker, Fran, has a thorough article covering the A-Z of WPGraphQL. In fact, a part of my homework assignment was to read it. I highly recommend you start there before digging in.
My Key Takeaways about WPGraphQL:
- WPGraphQL allows you to access the database of your website – every little piece of data you desire – through the query language, GraphQL.
- WPGraphQL helps you build the queries through the GraphiQL IDE. You just need to know what you’re trying to obtain, then use the GUI to compose the query to get you there.
- The graph data structure of GraphQL is a collection of Nodes, connected by Edges.
- Finally, the reason we’re using WPGraphQL is to test queries within WordPress and ensure our queries are returning the data we want. Then, we will incorporate these queries into our Next.JS app.
Homework: Learning + Practicing with WPGraphQL
To fully understand how to use WPGraphQL, it was important that I actually played with it. If you’re following along learning headless WordPress with me, here’s what YOU can do to practice, too.
Shout out to Fran for designing this great homework lesson!
💻 01: Spin up a Traditional WordPress Website
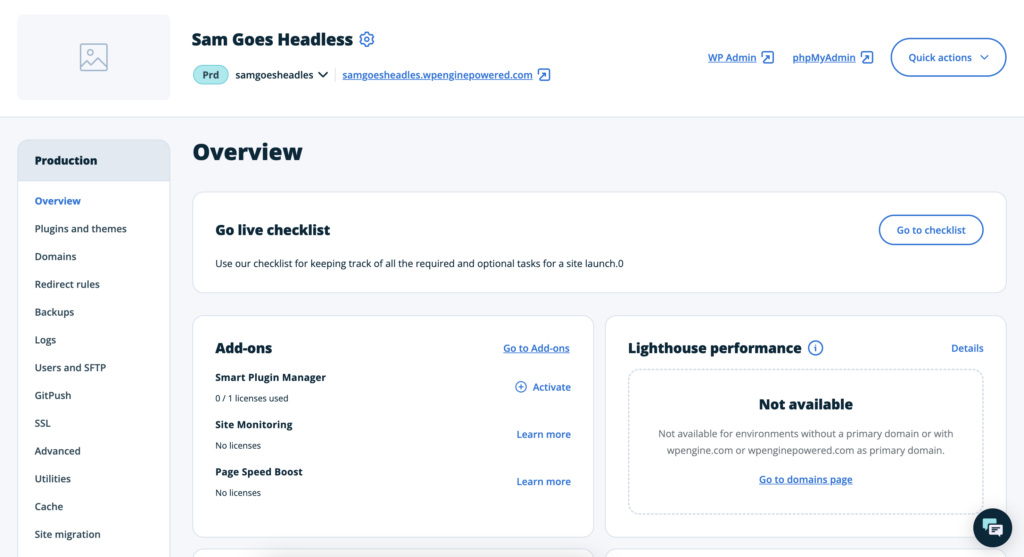
Of course, I used WP Engine to create a traditional WordPress site. In fact, I will be keeping that website live and open source – check it out.
If you want to learn and practice for free I would recommend using Local. You can simply create a new site and follow the homework I am going to outline below inside of your local site.

⚡️ 02: Add Plugins
You can install these plugins right inside of your WordPress admin dashboard or download them and add them manually:
- WPGraphQL
- Advanced Custom Fields
- WPGraphQL for Advanced Custom Fields (we’ll be utilizing ACF features to create Custom Post Types and Taxonomies that we can query with this extension)
✏️ 03: Homework Lesson
Psst, don’t skip ahead, I’ve added my “answers” below this section.
- Create 7 new posts in your WordPress admin, then fetch the titles of the first 5 posts in your query
- Retrieve the title, date, author name, and featured image URL for the latest three posts. (Don’t forget to add data to the fields you are querying for)
- Create a custom post type called “Events” with fields “location” and “date” , fill out the post type with data in the fields then query for them
- Grab a single post and query it by its database ID
Practice Queries (“Answers”)
💡 By the way, I’ve shared these all as Gists so you can Copy + Paste them into the GraphiQL IDE and run them.
#1: Create 7 New Posts + Fetch the Titles of the First 5
Of course, I leveraged Magai (my AI tool of choice) to create new posts so I could focus on writing the queries.
I used the following prompt: Hi there! Can you help me come up with 7 post titles? I want to create sample posts around cooking from scratch and slow living.
Then I used WPGraphQL to compose the following query:
#2: Retrieve the title, date, author name, and featured image URL for the latest three posts.
#3: Create a CPT “Events” with “location” and “date” fields. create a query to access the events.
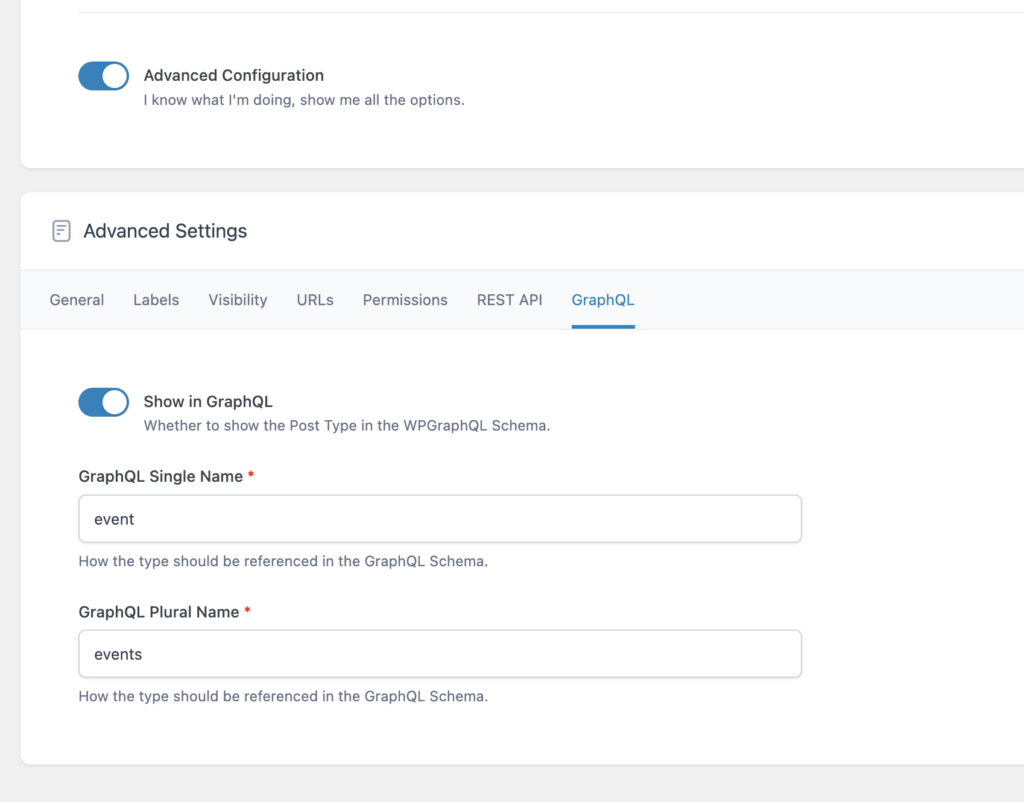
💡 Pro-Tip when using WPGraphQL + ACF – if you want to be able to find your custom post type in GraphQL make sure it’s enabled under “Advanced”

#4: Query a single post by its database ID.
Also, here are the Query Variables to make 👆 that one work.
Wrapping it all up
I get the draw. Being able to easily access every piece of data in the database with simple queries is alluring. I’m already dreaming up what is possible on the front end. Dare I say, I might like GraphQL better than the REST API…who am I?
In the next Chapter, I believe I will be tying all of these queries into my NextJS app and cutting off the head of my website. I’m ready! 🤯
Featured Image
Prompt: A 30-year-old woman with mid-length, dirty-blonde hair learning code on her laptop. There are magical sparks coming out of her computer in a warm, cozy, gaming aesthetic.
DALL-E 3 model with the help of Magai.


Leave a Reply
You must be logged in to post a comment.